Monday, June 1, 2015

Ebru Soap, a Learning and Creative Process

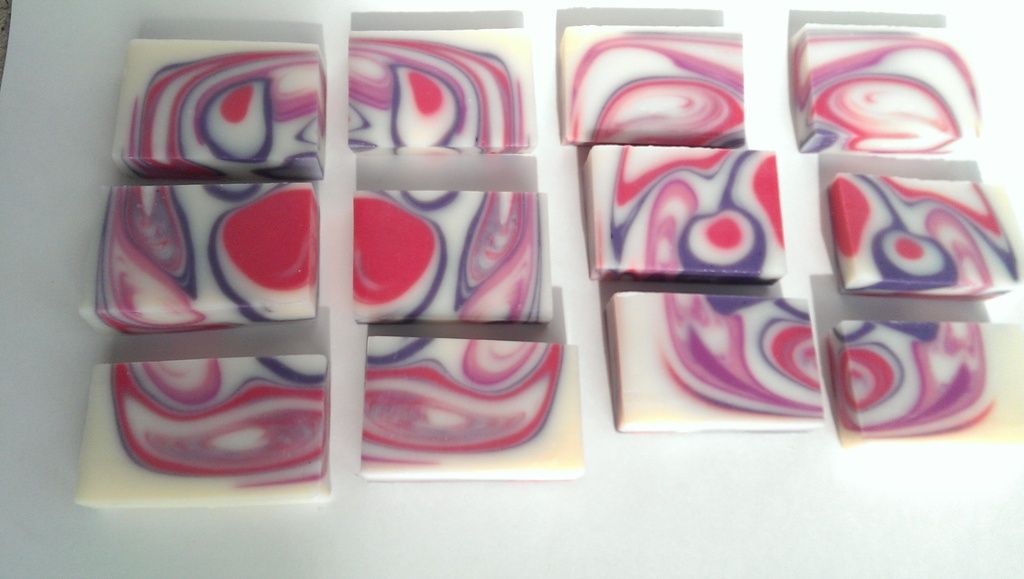
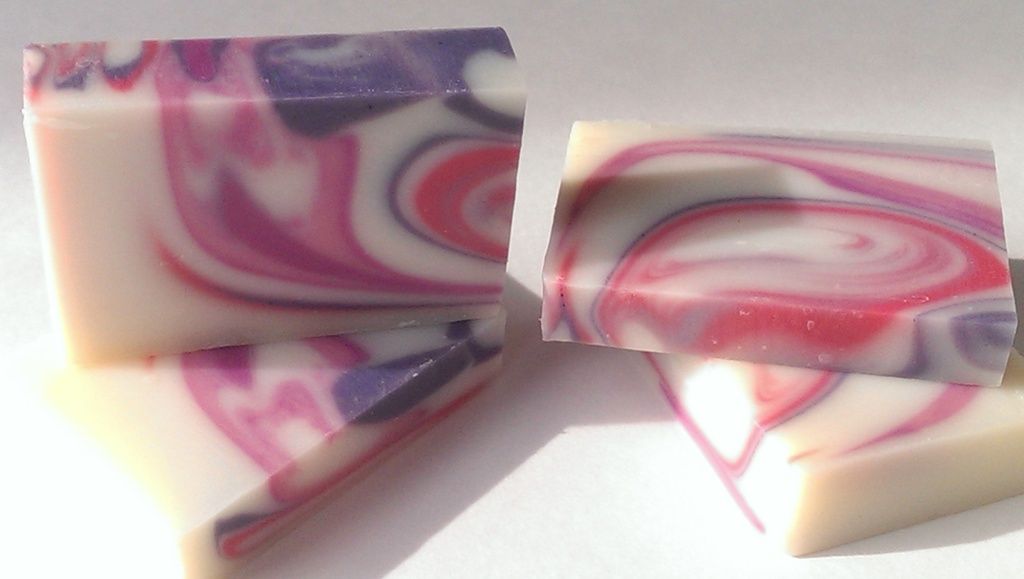
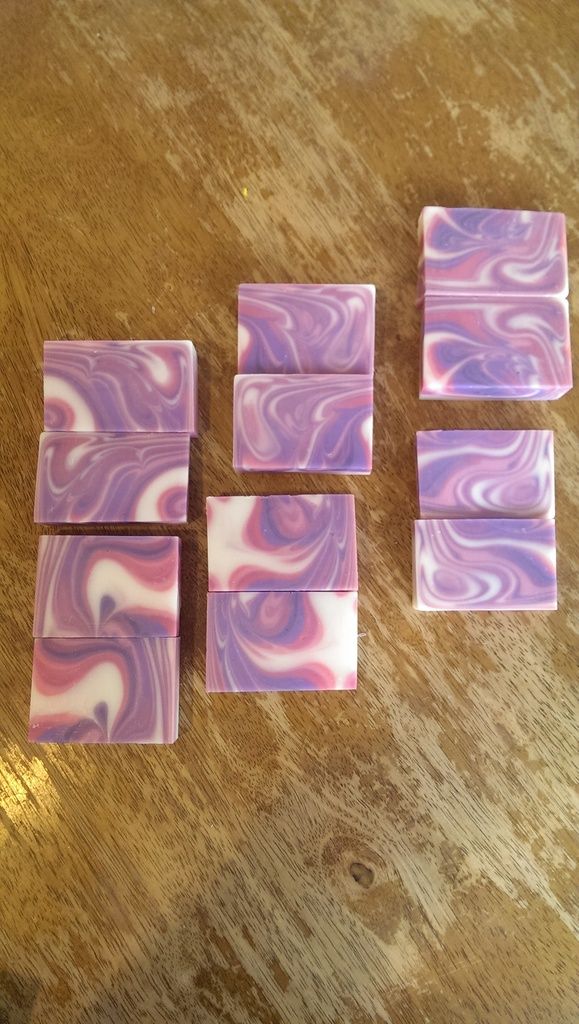
So with the Great Cakes Soapworks Ebru soap challenge rapidly approaching, I decided to have a go at a couple of more attempts for practice sake. The first attempt you can see here.

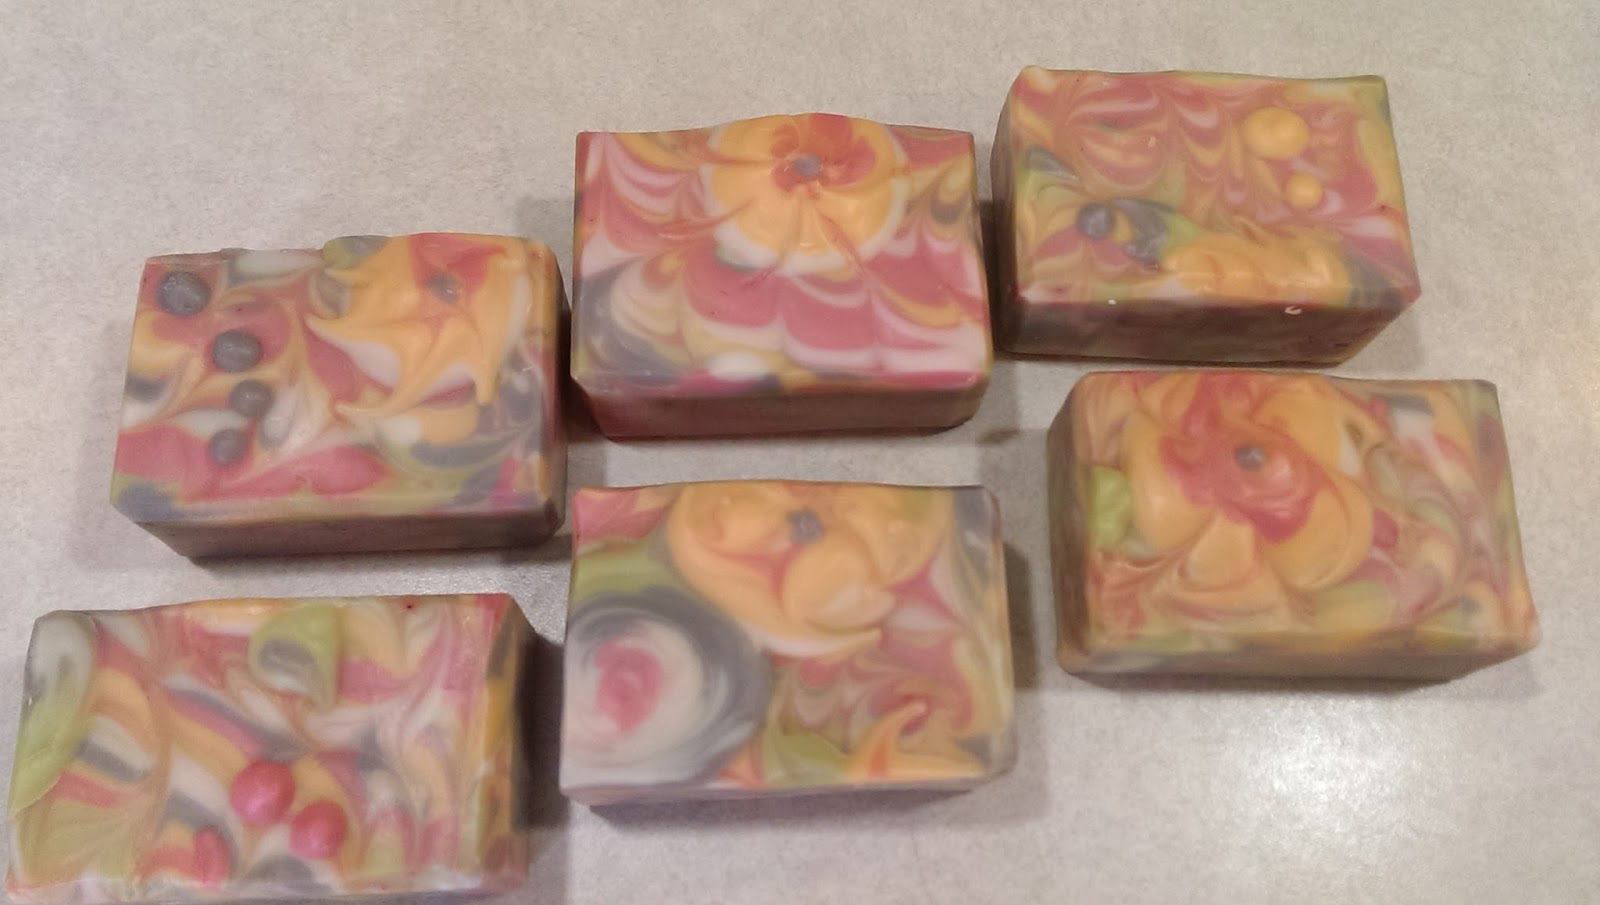
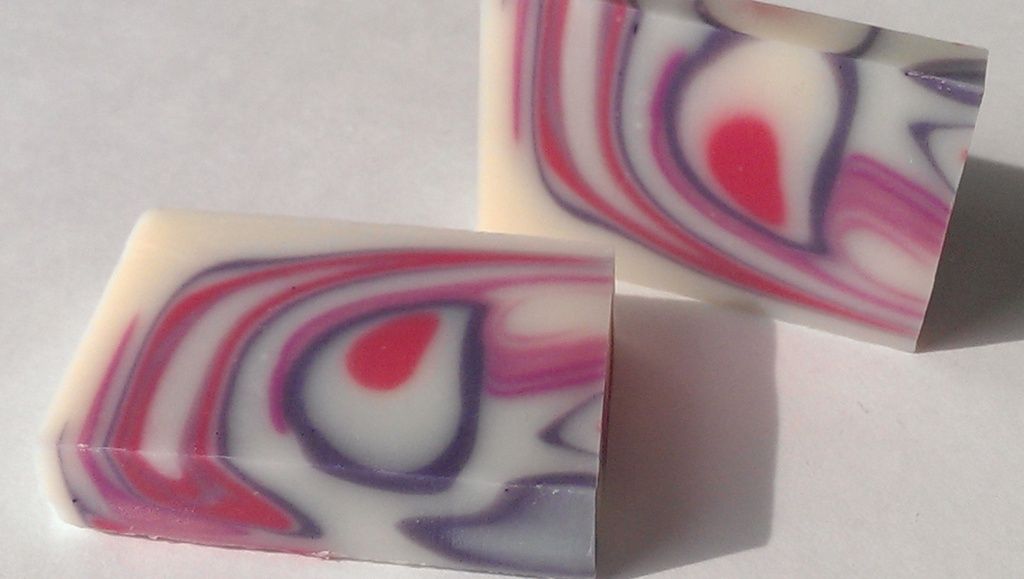
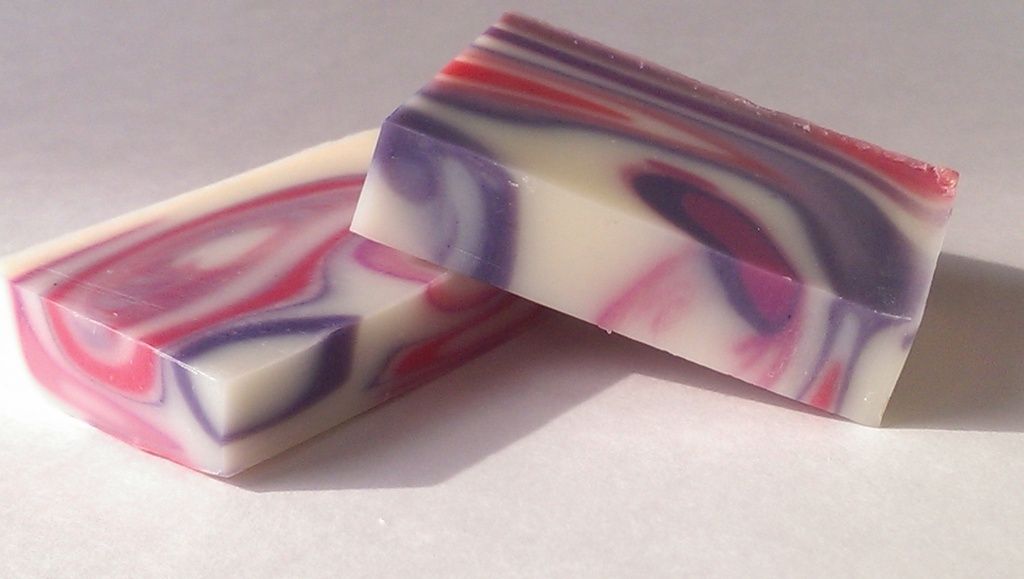
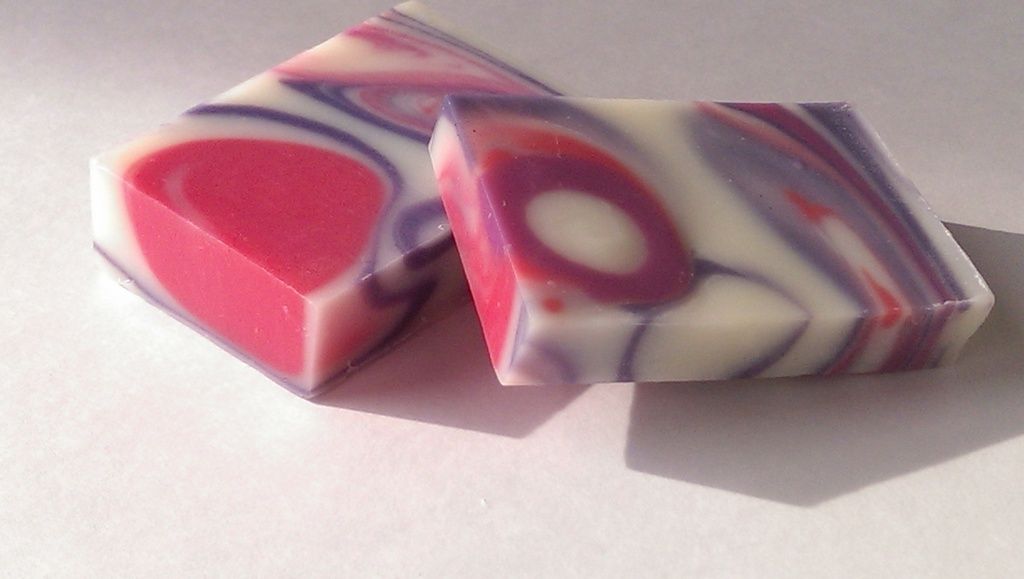
These are my second, third and fourth try.

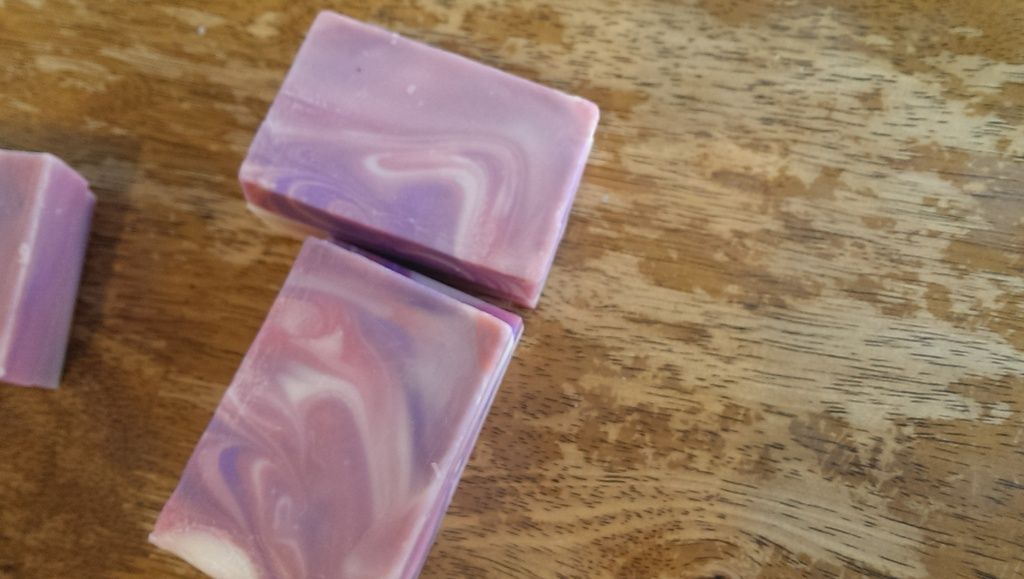
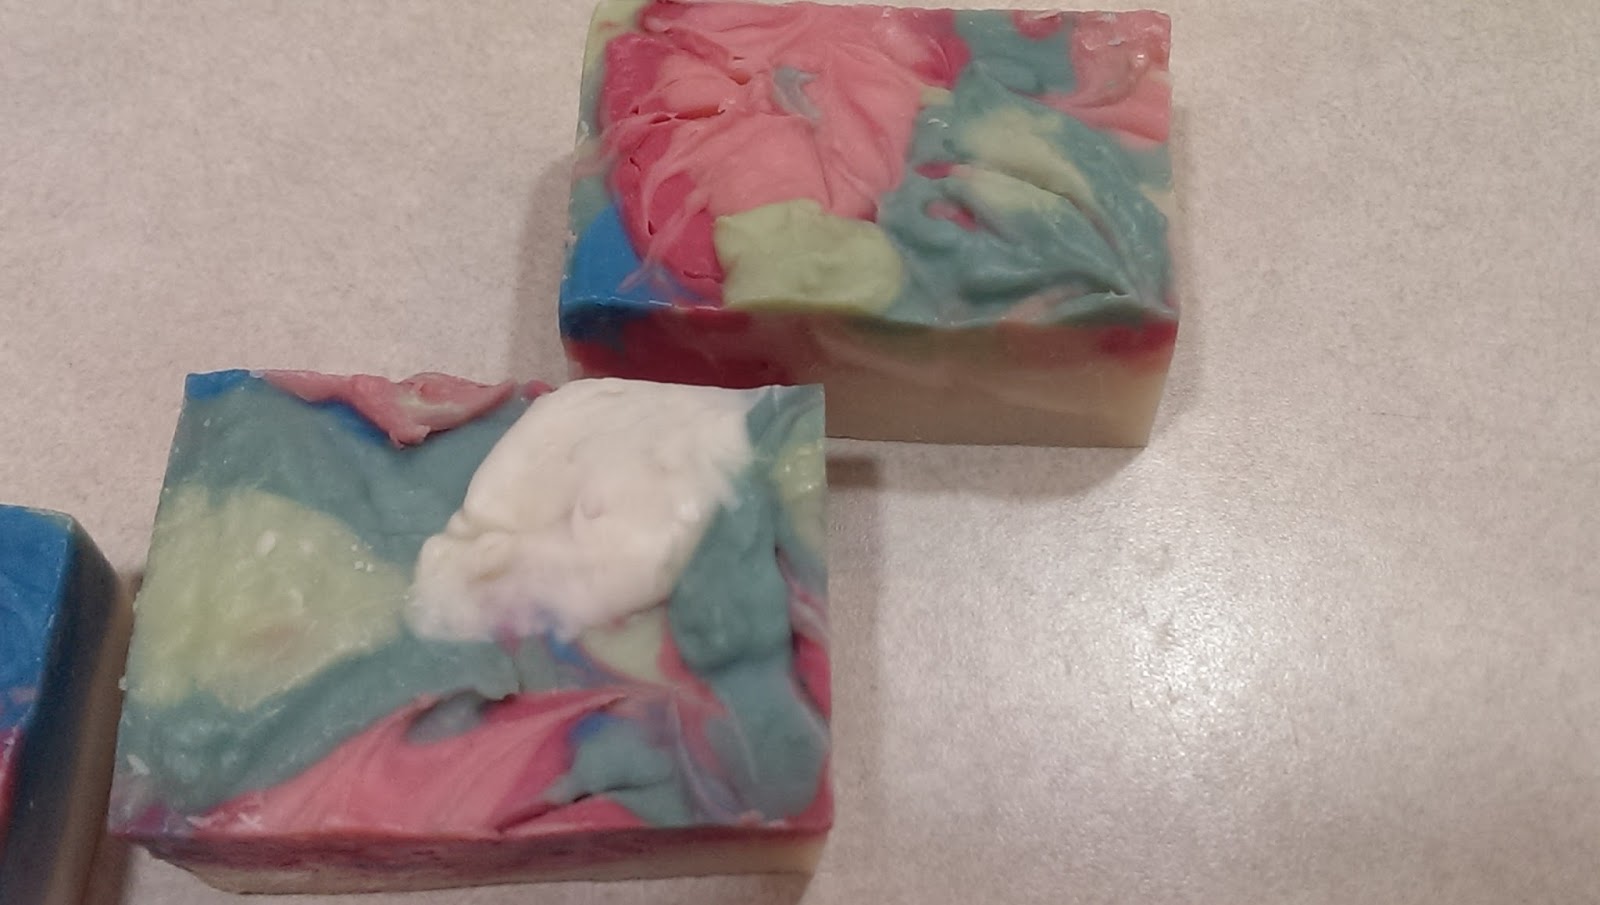
The first up in line is one I decided to use a new fragrance with, which I knew accelerated. I did not realize quite how badly it would accelerate with 40% lye concentration as well as rice. My high lye concentration buys me eons of time with all recipes I've tried, but when there's an accelerator fragrance, it moves far too fast for any intricate designs.


it wasn't a complete disaster. All in all I love the scent of the fragrance, Rice Shea Blossom from Brambleberry, and I do look forward to using the soap. I really could've worked this fragrance so much better, had I not tried such an intricate design with it.

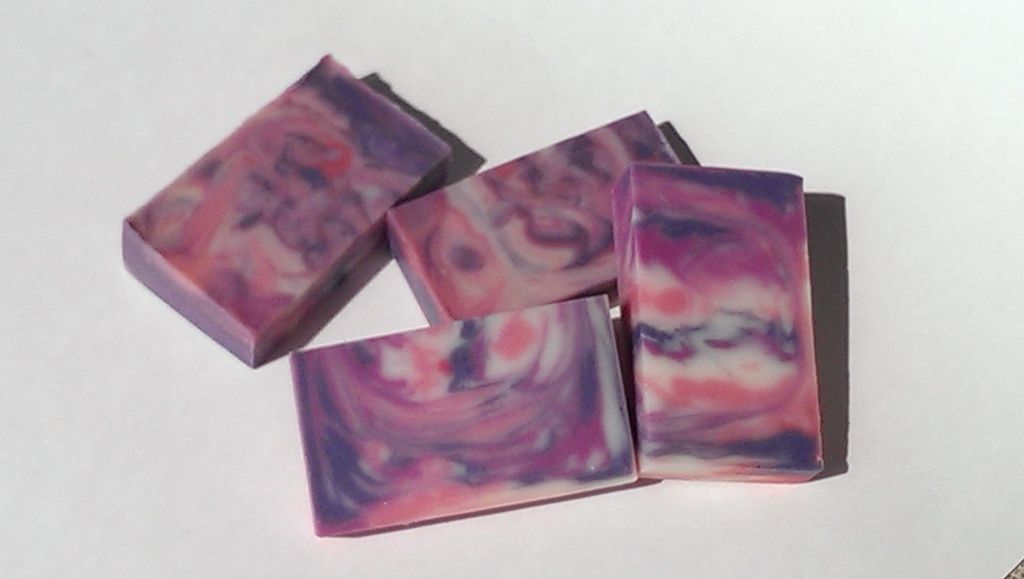
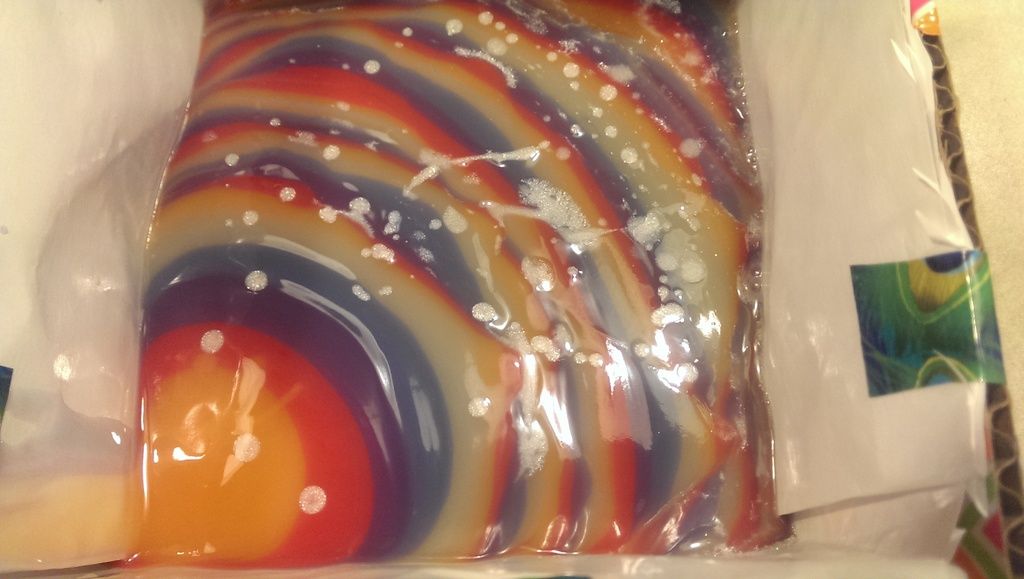
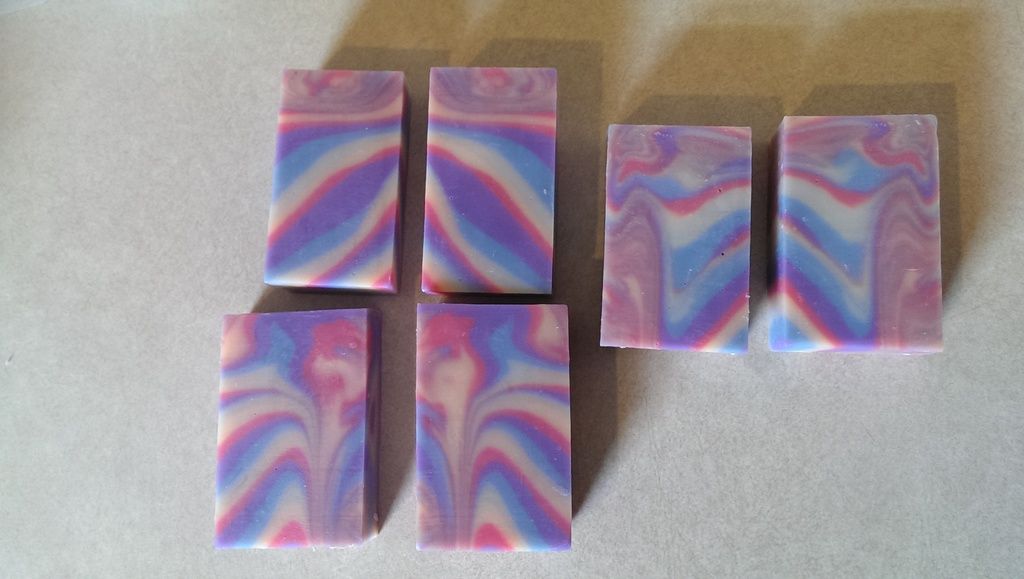
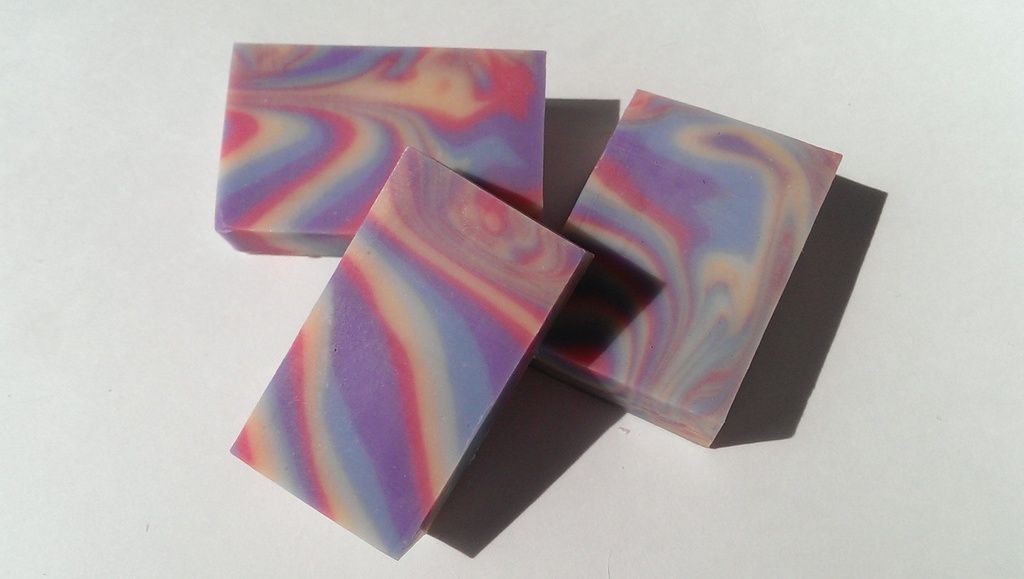
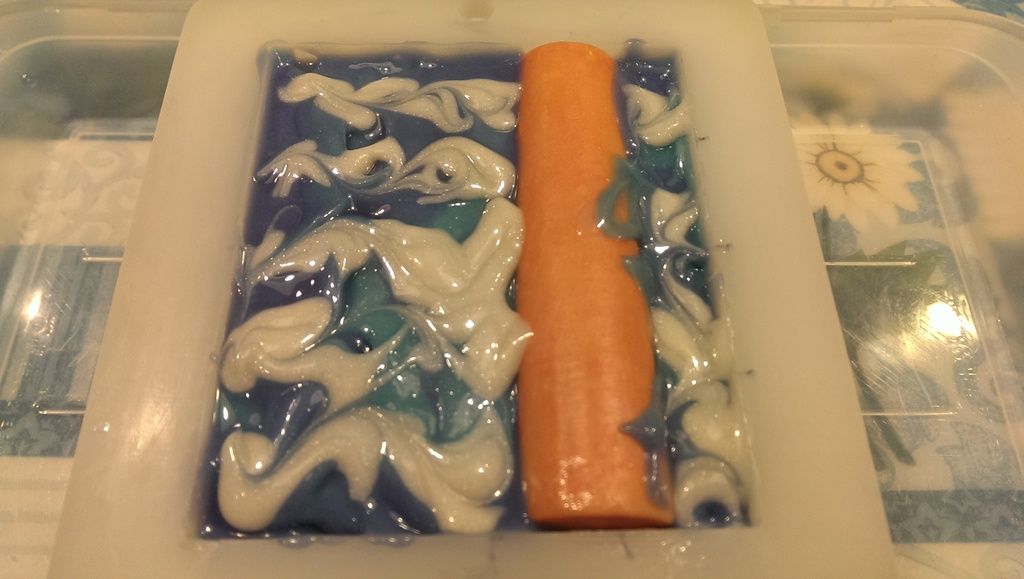
The next soap was an attempt at a combing design. I used a homemade comb tool, pulled it through after laying colors diagonally in the mold, and then free handed swirls throughout. 

I'm kinda a throw and go colorant gal, so I accidentally over saturated the orange. it's quite reminescent of the fab designs of the 60's and 70's in my opinion.

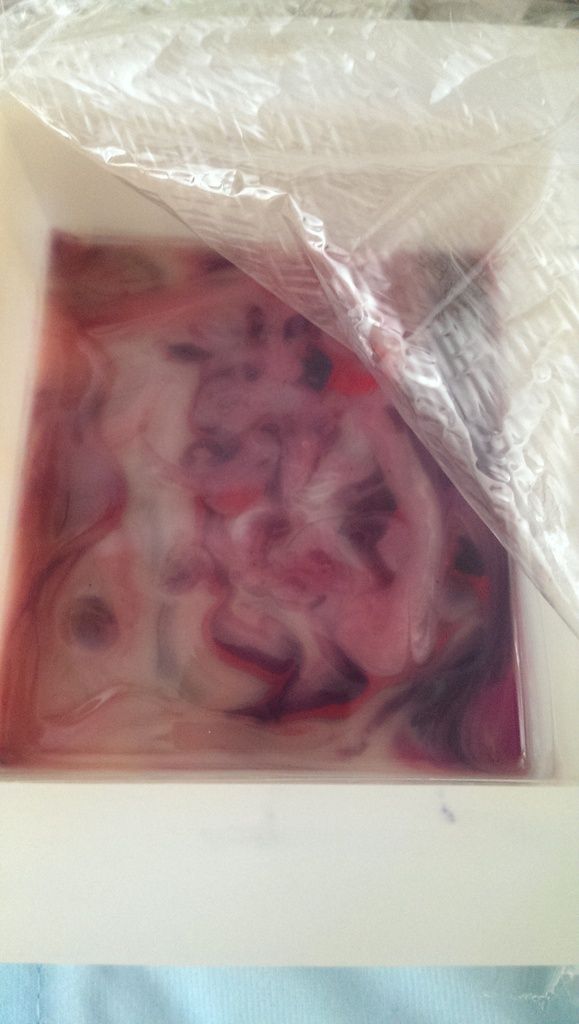
Unfortunately after I made this intricate skewered design, the soap had reached medium to thick trace, and the ebru effect was a little, blobby, for lack of better term.


The excess orange also seemed to overwhelm the design some.


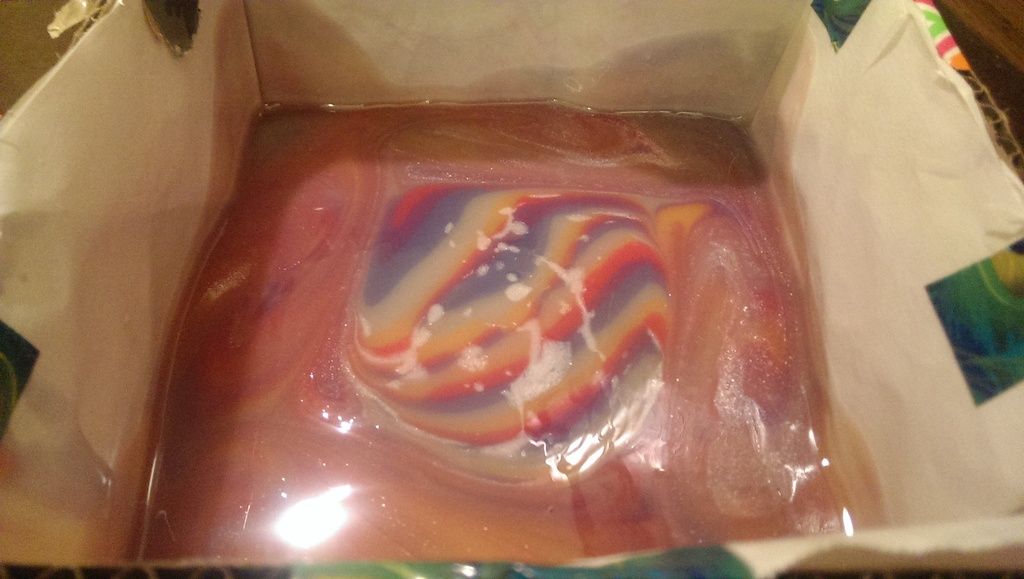
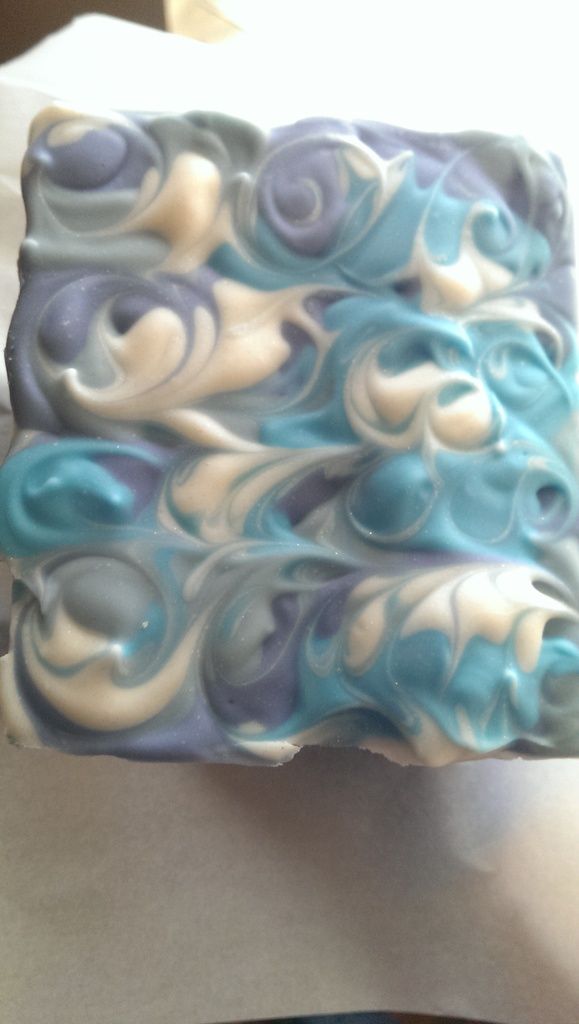
Onto the next soap. This soap didn't trace for eons. I had so much time swirling, I didn't know if it would ever harden lol. I did an ITP swirl with base colors, platinum grey,  dark steel grey, then some khaki yellow. I spiral swirled in the pot and poured. 


I then worked on the design. I tried my hand at birds this time. all in all I'm getting more comfortable with designing ebru art in soap.


 I've learned thinner batter works much better, a steady hand is very important, and harmonious strokes as well as detail work adds great interest. If your base pour is overly intricate, you run the risk of thickening trace, so keep the base design within a reasonable time frame. Gelling truly helps the soap designs to pop. Try different pulls. Many different effects occur from pulling in, out, in and out, swirling, spirals, etc. There is a limitless potential for creativity and imagination with ebru soap.

Saturday, May 16, 2015

Ebru Cold Process Soap

I will preface this post by saying, this isn't my contest soap for the month of June, but rather this was meant as a learning tool for those who were looking to see what ebru soap was all about. Stay tuned for my entry into the June Great Cakes Soapworks Ebru Challenge:-)

So, I decided to forgo the Great Cakes Soapworks Challenge of miniature soap desserts this month for several reasons. First off, I am currently involved in an alternative liquid swap on a soap making forum, and was busy creating 15 soaps for the swap. I also decided to make 15 special "extra" gift soaps for this swap. The gift soaps weren't quite what I intended, so I had to redo them. Being as they were round soaps, I only have a 6 round soap silicone mold, well let's just say I wound up with 54 soaps when all was completed (a soap on a stick fail accounted for 6 of those).

So by the time I was ready to focus on the dessert challenge, the link up to submit was already available and I was too late.

So I decided to set my eyes onto the challenge for the month of June, the Ebru Soap Challenge.

Ebru art is defined on http://www.turkishculture.org/traditional-arts/marbling-113.htm as
The Turkish Art of Marbling: Ebru

Marbling is the art of creating colorful patterns by sprinkling and brushing color pigments on a pan of oily water and then transforming this pattern to paper.

So googling the ebru art in soap making, I discovered these examples.
Soaping 101 Video
https://www.youtube.com/watch?v=rzQJrztr2GY
and this video by Sergio Masala
https://www.youtube.com/watch?v=ZFuOjmqWgjQ

Having done the spin swirl the last challenge in April, I chose to spin and then ebru.

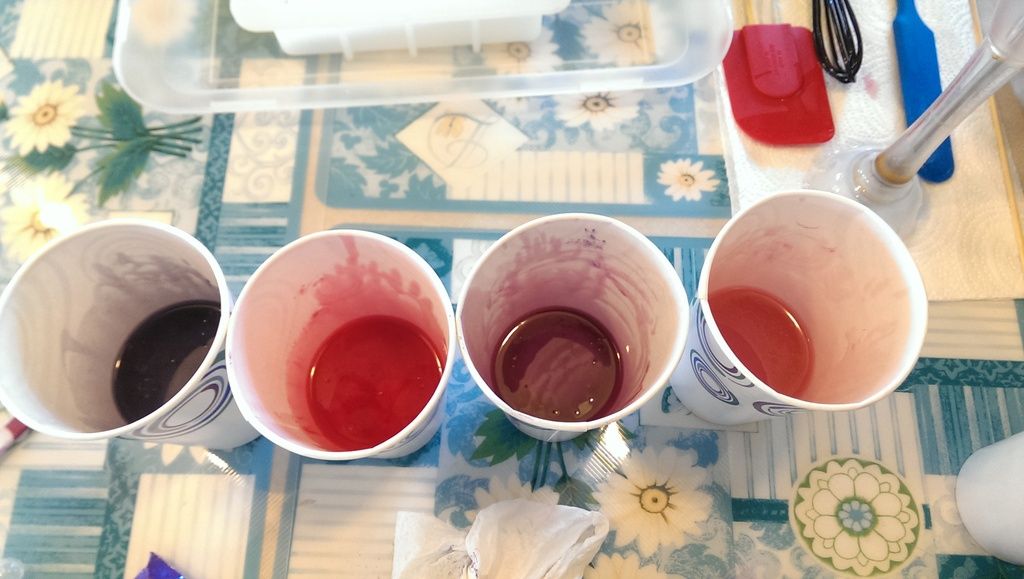
I split my batter into
Titanium Dioxide
Activated Charcoal
Nurture Soap Mica Mint Green
and Nurture Mica Red Raspberry
I kept a little uncolored naked batter as well

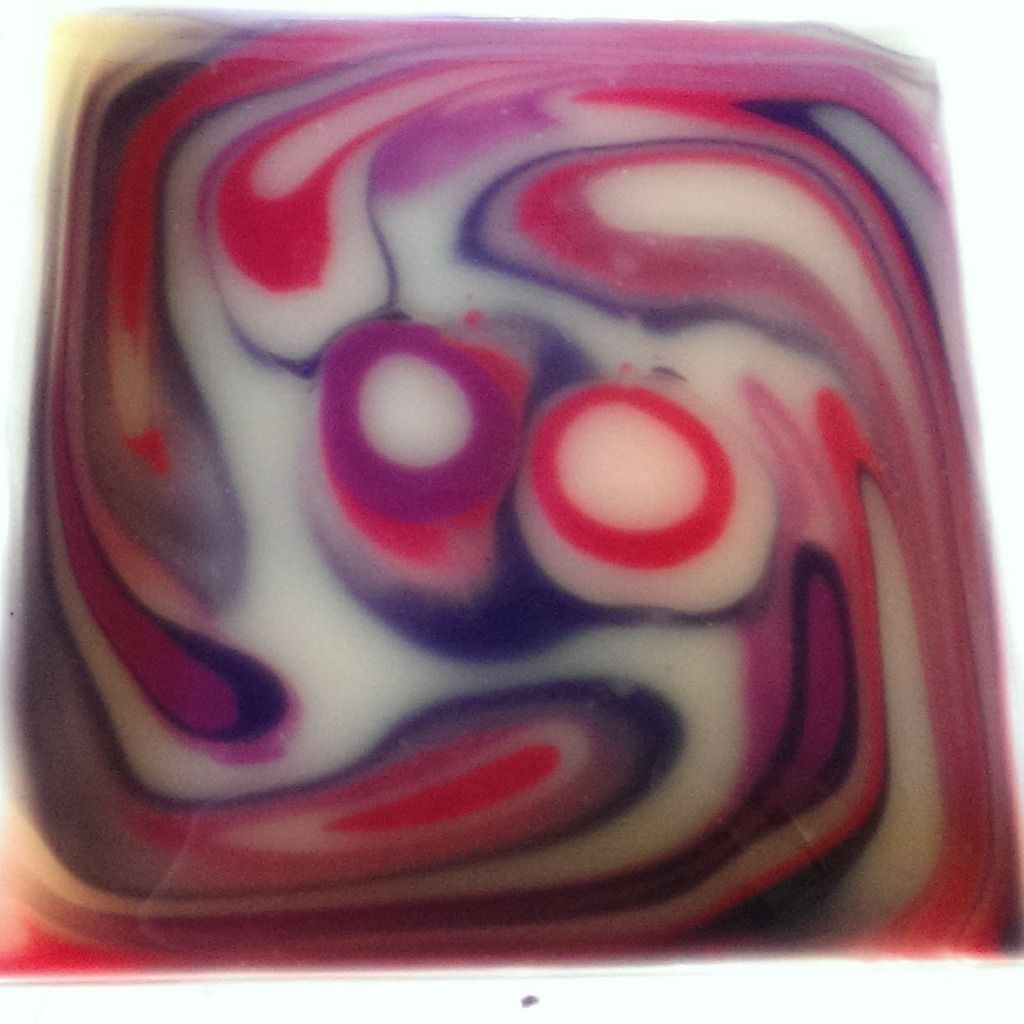
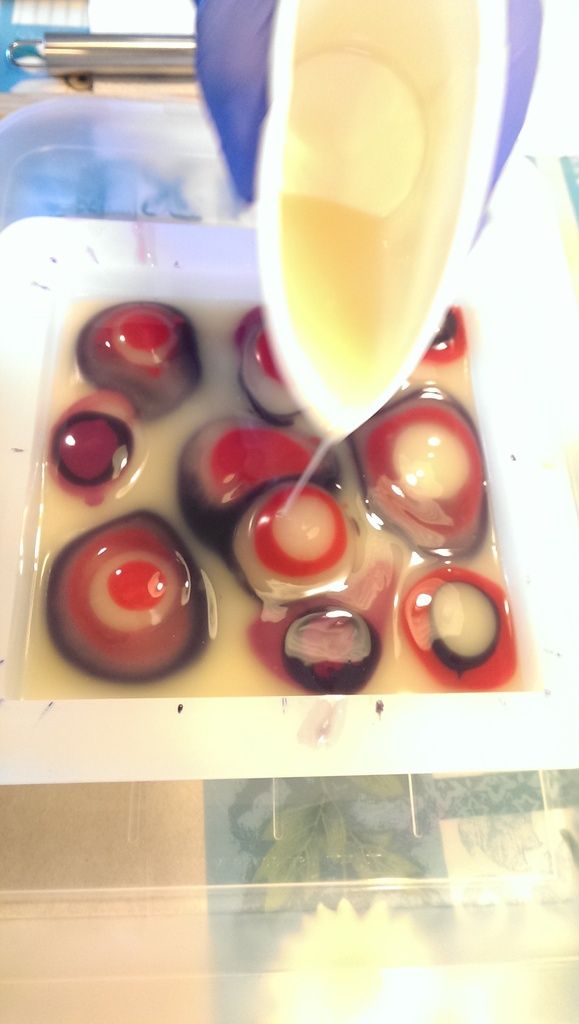
After pouring a layer of uncolored batter just thick enough to coat the base of my mold, I began poring circles slowly and fluidly into the uncolored batter. I poured one color at a time, on center and slow, then another and etc. In the picture you can see the alternating colors and where I put each circle.

I then spun until I felt it sufficed.

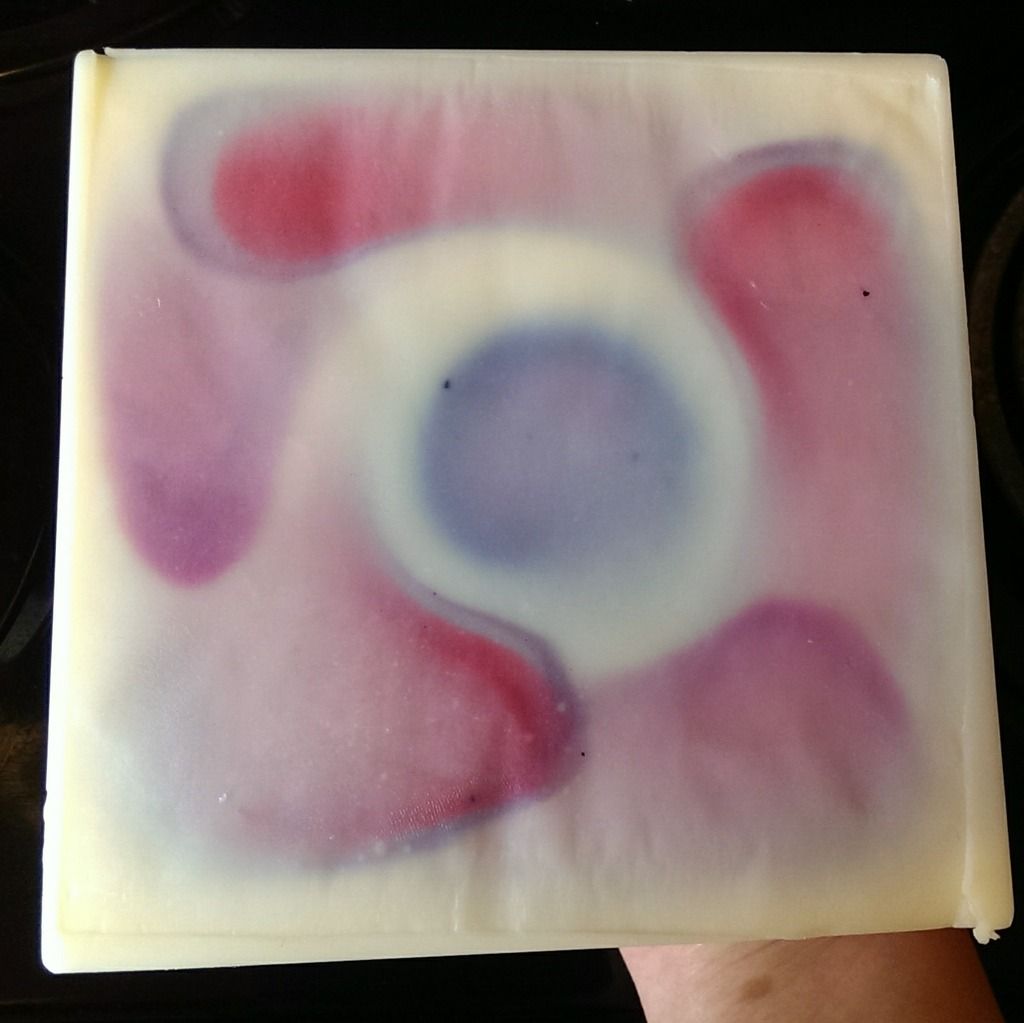
Finally, I again, in the top 4 corners, poured a red raspberry, then titanium dioxide, then mint green circle. Taking a skewer I pulled lines from the outside into the center to give a flower impression.

I topped off the flowers with a small dab of activated charcoal in the middle, and then strategically placed dabs of activated charcoal and titanium dioxide dots for interest around the soap.

The center circle did not spin, so I cleaned it up, and instead of pulling my skewer in, I went from the center out.


This is ebru soap. It is drawing onto liquid soap batter a top the soap.

I used 40% lye concentration. It takes a long time to trace, and it remains very fluid a long time. If you use TD or any other colorant in WATER, however, it (the portion with added water after you have reached trace) thickens fast and, well, very thick. Also, if your fragrance accelerates, it will move like lightning with this lye concentration. If your fragrance behaves, though, this concentration is like a secret soaping ninja weapon giving you an awesome edge on design and time to complete your designs.

I used an essential oil combination of 13 grams of frankincense, 6 grams of cedarwood, and 4 grams of rosemary for this. I also used a 100 grams lye to 100 grams water, 2% sodium citrate (18 oz of oils total), 1 1/2 tablespoons sugar and 50 grams coconut milk (added while mixing to trace...this took eons to trace and so I finally added the coconut milk to aid the trace of the batter).

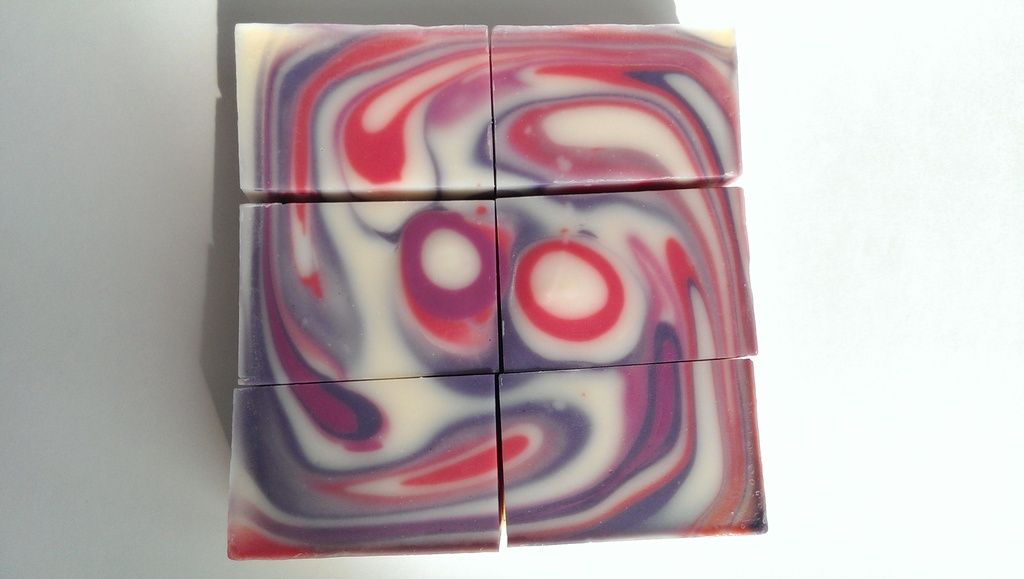
Now cut pics!


All in all I am pleased with this, and I am eager to make my second attempt ever at Ebru Cold Process Soap.
A final apology for the white washed photos. I am needing to improve my photography skills, and its something I've struggled with a while now!!

Thursday, April 16, 2015

Spin Swirl, Great Cakes Soap Works Soap Challenge

So. The spin swirl. Sounds easy, looked easy enough. Well there was one big hiccup.

Two attempts in and the outside was spinning much faster than the center. To see these first attempts, scroll down to the end...

I was prepared for this having spun my soap during the DNA swirl challenge, but I was having a hard time working around this issue.

After trying to be fancy, think outside the box, and be unique (and it just didn't work out right), well I decided it was in my best interest to try and do a good job at a "more typical spin swirl".

Quantum Entanglement
Scented with Green Irish Tweed by Oregon Trail Soap Supplies 
Micas by Nurture Soap Supply, and colorants by Bramble Berry 


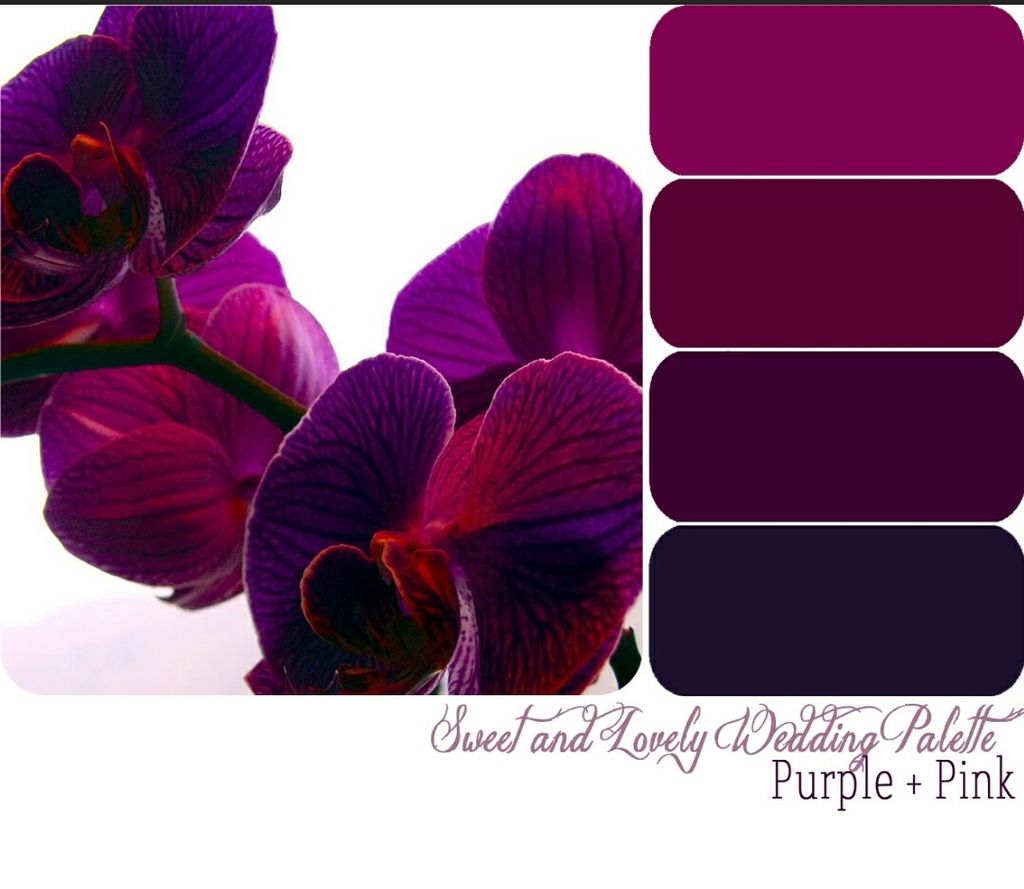
I chose a color palate this time for inspiration.


I then decided to focus on the most bold aspects of the palate.


  • White- uncolored soap batter 
  • Black Tinted Purple-wisteria purple with activated charcoal
  • Bright Hot Pink- red raspberry
  • Plum Purple-red raspberry and purple vibrance
  • Light Soft Pink- hollywood pink 


Please forgive the yellow tinged kitchen lighting.

My recipe was
30% sweet almond oil
6% castor oil
18% coconut oil
36% home rendered beef tallow
10% olive oil
With
40% lye concentration, a 1.5:1 ratio (my go to lye ratio for every soap)
2% ppo sodium citrate
1 TBS ppo sugar
a pinch of tussah silk
4% superfat


I began by pouring some uncolored batter. I then started 3 circles, like a triangle- one on top, two on the bottom corners. I then filled in the space around them with smaller circles and poured alternating colors on top of each circle.

The top of the mold is on the right...this is a side view


I poured at thin trace to accomplish a circle within a circle throughout the depth and allow for the spin when cut at double thick horizontally, but waited for a thicker trace before spinning to prevent over blurring the lines during spin.

I had spun forcefully on my first attempts and decided to spin short bursts and light handedly this time. I wanted just enough to start moving the batter without blurring it around the edges.

This is so neat! It's the bottom of the soap. It looks wrinkled because I had to lay down a square of freezer paper in my mold. Long story short do NOT mark in ink on your silicone molds where the soap will sit. The ink sets, stains, and will come off onto your soap...thus now I need freezer paper on the bottom of the mold.


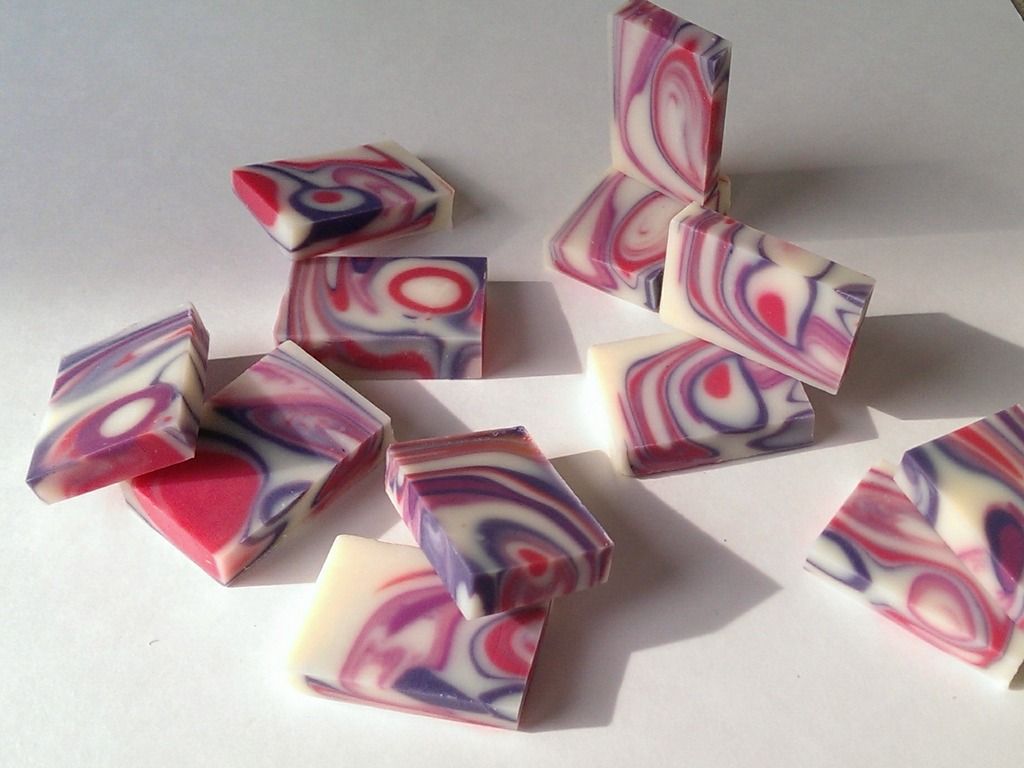
Here is a pic to see how I cut my bars.


Here is a pic of the horizontal cuts that "filet" the soap open.


A little secret...I put it on a heat pad to gel and got busy. I felt that tingle that tells you "go check it now!", and yup. It was extremely hot and was attempting to alien brain around the edges. I was able to smooth it out with my finger and it was good to go!


Now, for cut closeups!


I had enough time leftover on my trace to take leftover batter, and pour some small ITP like bars.
Yes, this is after I did the spin swirl. Look at the consistency, still very fluid thanks to a higher lye concentration, I believe. Since changing, I've had plenty of time for swirling and such.


This swirl proved more difficult than originally anticipated. I love the challenges for the opportunity it gives in practicing swirls and new techniques.


**********************************************************************************
NOW MY FIRST TWO ATTEMPTS-
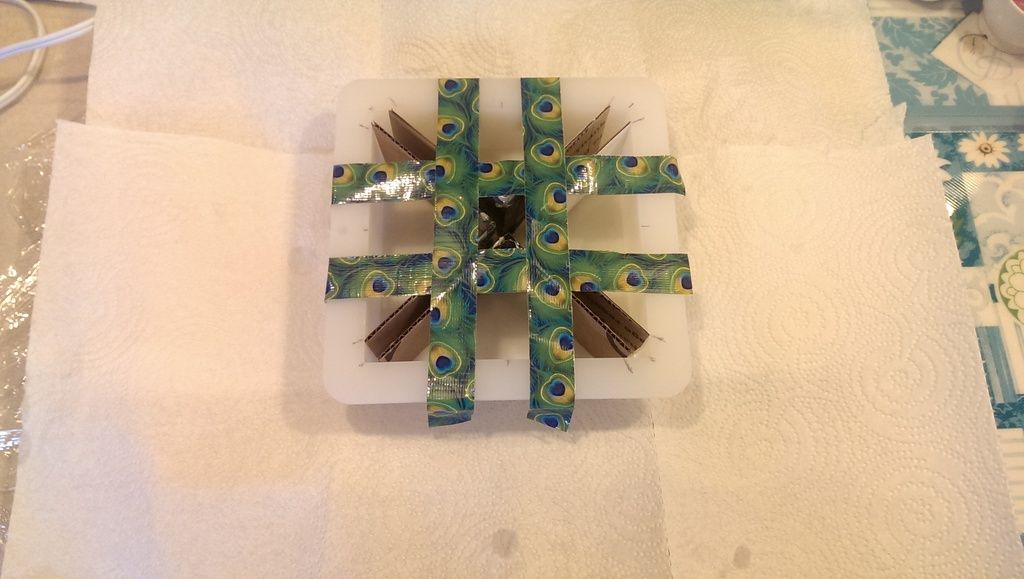
Soap attempt 1, I attempted a beautiful pinwheel effect with homemade inserts.


Let's just say it didn't work out. Slight panic and a skewer later...the soap was lovely but not what I truly envisioned.
You can see the tops were not nearly as detailed as the centers. They blurred and over blended.


Soap attempt #2, I tried a beautiful brightly colored faux funnel. I poured from one corner and hoped the outside edges would spread more evenly. Quite the contrary. The edges blurred into oblivion and the center remained almost perfectly still.

Nooooooooo!!!!!
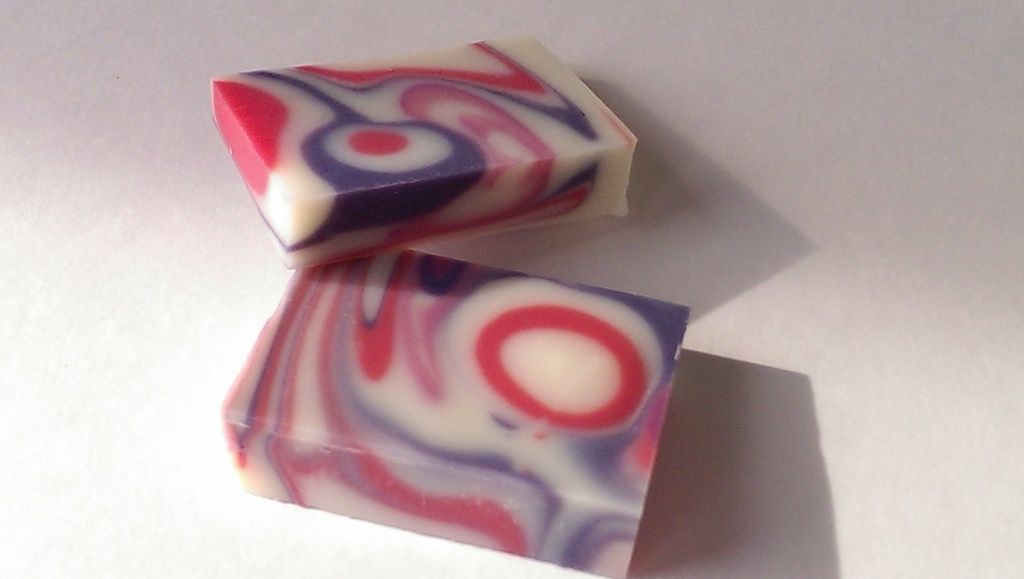
It wasn't so bad after I cut, but not anything like I had hoped it would be. Again, over blended and blurred.

Friday, March 20, 2015

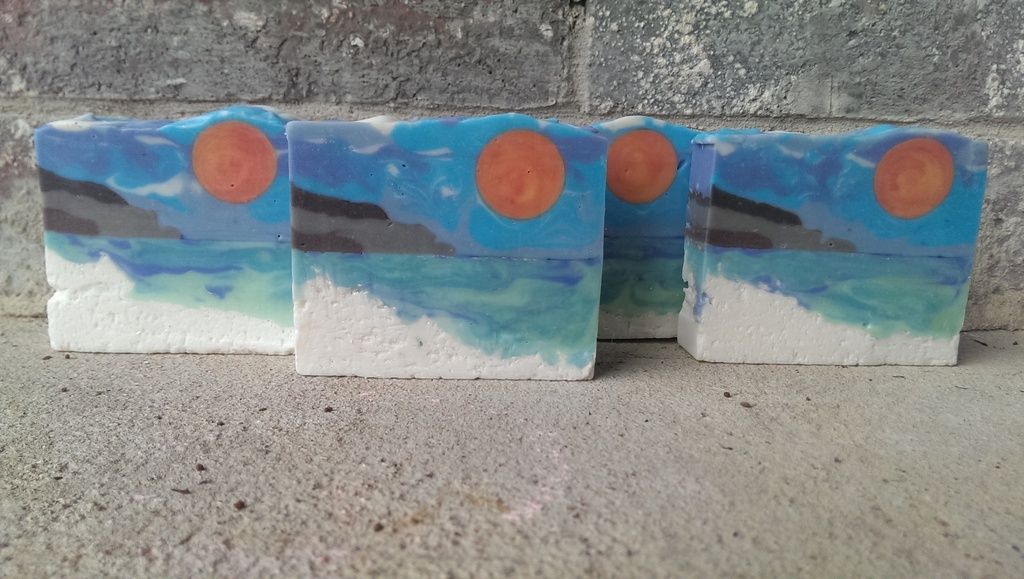
Landscape Soap, Great Cakes Soapworks Soap Challenge

After seeing the upcoming challenge of landscape soap last month, I immediately began searching images for inspiration, and having recently made salt bars, I thought of...well...salt.

The Dead Sea, naturally, was my next thought! So I searched and discovered beautiful images. I saved two, and after thoughtfully looking at the pictures, I choose one to focus on.
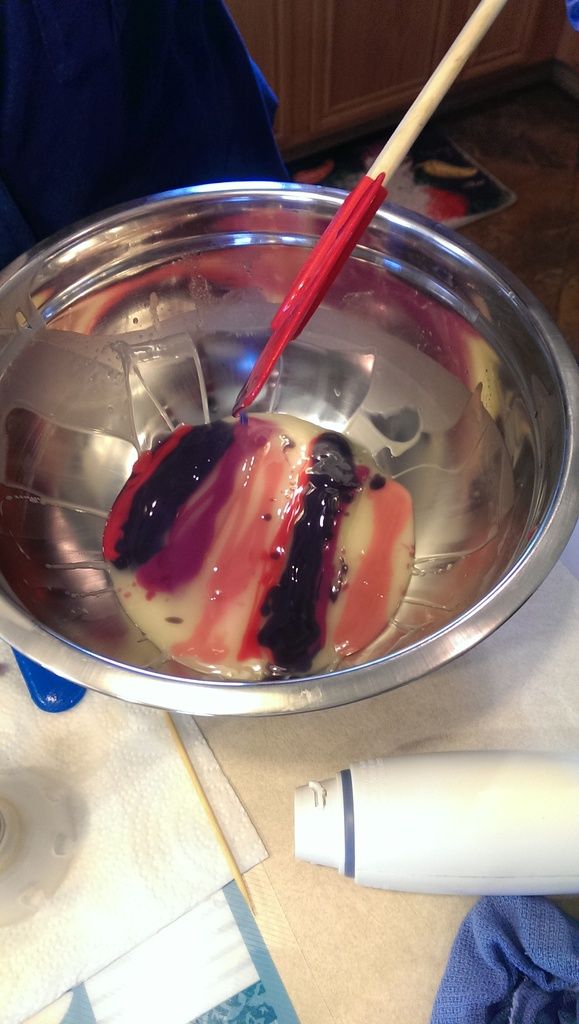
The main inspiration:


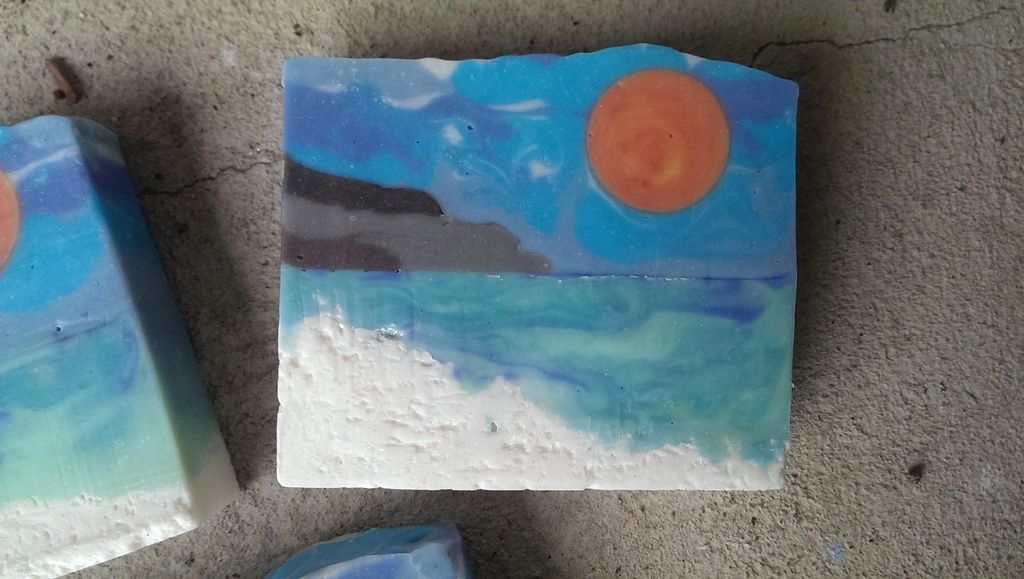
Now, I really liked the mountains and the way the salt was positioned, but for the sky, I decided to embellish on it a little because this sky is fairly plain. So the sky appears different than my inspirational photograph.


The Dead Sea
fragrance- Bonsai by Oregon Trail Soapers Supply
colorants- Micas and glitter by Nurture Soap, and mica by the Conservatorie


Now, for those interested in the process and steps I took to create this, I've outlined it below. At the end is also a picture of my first attempt.
******************************************************************


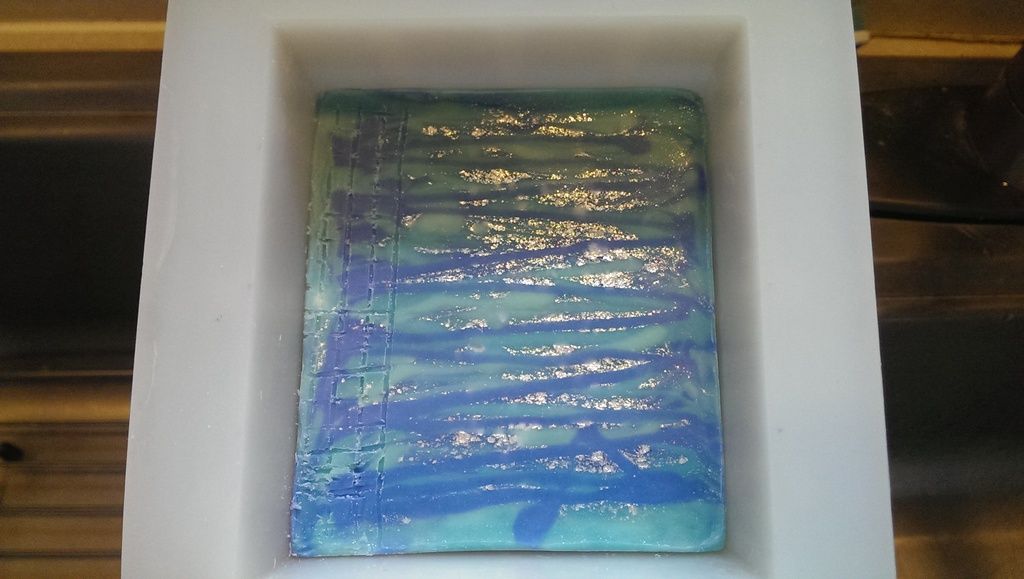
Here is the salt base poured, with water swirled on top.
I made salt soap with 60% salt ppo, and with snowflake sparkle mica and body safe glitter premixed into the salt, I hoped you would catch glimmers like the sun is bouncing off the salt.
The salt was poured and scored with a knife into 4 soap pieces within under 2 hours to prevent completely crumbling on final cut. I also hoped the salt portion would remain textured a little and not a flat hard slick surface to better represent the photograph.


The water was poured immediately after the cuts were made, and once hardened I scored it vertically and horizontally to help the mountain range stick and hopefully not separate since it would be poured the next day.*The fragrance riced a little, but nothing too bad. It also accelerated some, but was completely workable.

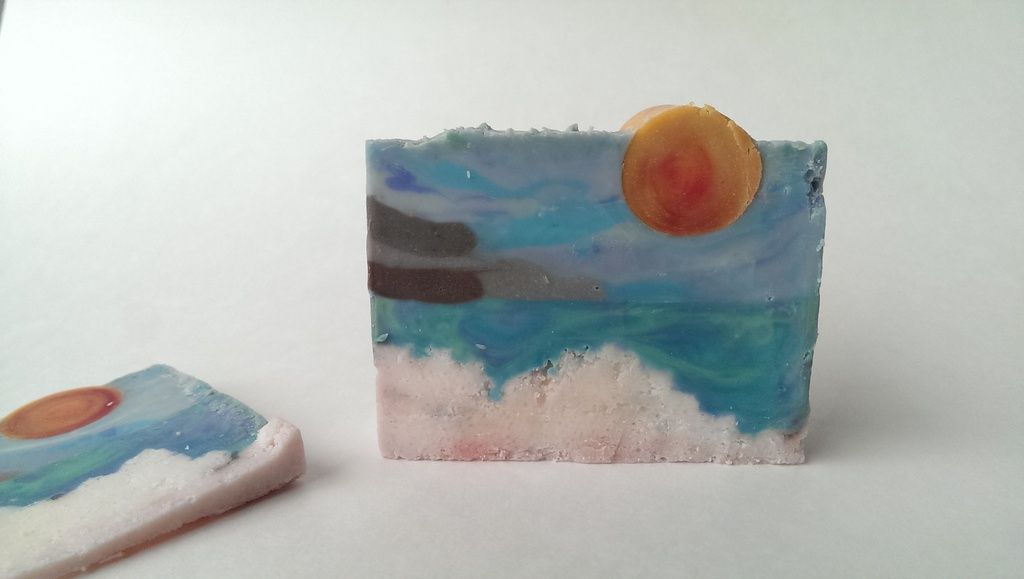
Here I poured the mountain range and the sun. The mountains were such a small batch, I decided to do both at once. The first attempt I had done saw the mountains bow downward at the weight of the sky. So I left the mountains to completely harden before continuing on with the sky.


Here you can see my pen marks I used to better visualize how much I needed to pour and where.


I used a finger and attempted to dust the mountains with copper sparkle mica, and the water with glitter, to create a sun reflection. Unfortunately it didn't show in the final soaps.

I also added Klein Blue mica to either side of the glitter to offset the water from the sky. This did help, I think, but I didn't photograph it, unfortunately.


Finally was the sky pour. If you recall the fragrance accelerated and tried to rice up, so I didn't put it into the sky. This caused it to take eons to set up...I again was trying to avoid my sun causing a bow effect from its own weight. I poured one color, then a second, and then did a quick hanger swirl to mix them together. I then laid down some white clouds, and covered lightly with my third color.


I then did a cpop at 170 degrees for 8 minutes. Voila! It set enough to hold the sun snuggly and firm.


 I finished off with more white clouds and swirly tops.


 These landscapes are quite an undertaking I must admit!!!!


This was a fun challenge! I had to really think about the steps I needed to take to slowly build the landscape. I loved seeing everyone's soaps this month, and a big thanks to Amy, again, for hosting these wonderful challenges!
********************************************************************

Below is my first attempt. I liked the sun much more, but the sides were a little crumbly, and the mountains were bowing more than I liked.
Here is the soap today. It was scented with Oregon Trail Soapers Supply Silver Mountain Water *Type fragrance. I LOVE this smell! It is probably a top fave of mine. It, unfortunately, discolors and this is my soap today. I like the colors! Plum and deep teal and pink...had no clue, but I love this soap now lol!